This is some info on it for those that have never used it before...this info is taken directly from the Loving Earth website. This is the brand that I use (NO I am not being paid to say this!) .....for more info check out www.lovingearth.net
What is it?
The reason we call our coconut oil "Coconut Butter" is because its texture is creamier and more buttery than other coconut oils. Why? Because we use wet method centrifuge extraction, cold-pressing the oil from fresh coconuts with 1 hour of breaking the seal on the coconut shell. It is raw, light tasting and smooth - unlike any coconut oil you've ever experienced. Our current batch of coconut butter is sourced from Thailand and is processed in exactly the same way as shown in the photos on our gallery of the Mexican operation that we source oil from when it is available.Its health benefits include hair care, skin care, stress relief, maintaining cholesterol levels, weight loss, increased immunity, proper digestion and metabolism, relief from kidney problems, heart diseases, high blood pressure, diabetes, HIV and cancer, dental care, and bone strength. Click on Health Benefits to the left to find out more.
These cookies turned out first time.....and very quickly I had to make them again.....they were a nice little treat for me....I hope you love them also! I have called them 'parents cookies' as I figured we are always making cookies for our kids.....and as much as I know mine will devour them for afternoon tea (whats left of them!) I thought these could be hidden and the lid undone when you sit done of an evening with your cuppa once the kids are in bed!
parents cookies
1 ½ cups almond meal
2 tblspns coconut butter/oil – (my
measurement was 2 tblspns solid and then I melted it to liquid)
2 tblspns rice milk
½ cup dairy free choc drops – I use the
brand “Sweet William”
2 tblspns rapadura (can swap this for
brown sugar)
1 tspn cacao (can swap this for
cocoa)
1 tspn cinnamon
Preheat oven to 180c and line a large
tray with baking paper.
In a large bowl place the almond
meal, coconut oil and rice milk. Mix well.

Add the remaining ingredients and
combine well, slightly kneading it in the bowl to make sure it’s all sticking
together (I used my hands).


WARNING: AT THIS STAGE DO NOT UNDER ANY CIRCUMSTANCES TRY THE COOKIE MIX
AS IT WILL NOT MAKE ITS WAY INTO THE OVEN.....ALREADY IT’S SO YUMMY!!!!! HA HA
HA....I KNOW YOUR GOING TO NOW!!!!!!
Make round balls (teaspoon size) and
place on tray. Slightly flatten with a fork. (Mine did not spread so they don’t
have to be too far apart).

Bake in preheated oven to 7-8
minutes.
Allow to cool on a wire rack.
Makes 18 cookies.

NOTE: If there are any cookies left
(after you ate some uncooked and then one hot out the oven....and then 2 once
they were cool....oh hang on, that was ME that did that!) you can then try this
addition.....
ICING
2 tblspns icing sugar
½ tspn cacao (once again this can be
cocoa)
1 tspn rice milk
Mix all ingredients well.

Place a small amount one cooled
cookie and place another cookie on top! Not only do they remind me of the look
of “Kingston” biscuits, I get the taste too.....

Now....here is a fun "treat" for the kids......
honeycomb
1 cup caster sugar
4 tblspns golden syrup
1 tbspn water
3 tspns bicarb soda
Line a large
flat tray with baking paper.
In a large
saucepan place the sugar, golden syrup and water. Stir constantly over a
medium-high heat until the sugar dissolves (this will take a few minutes).

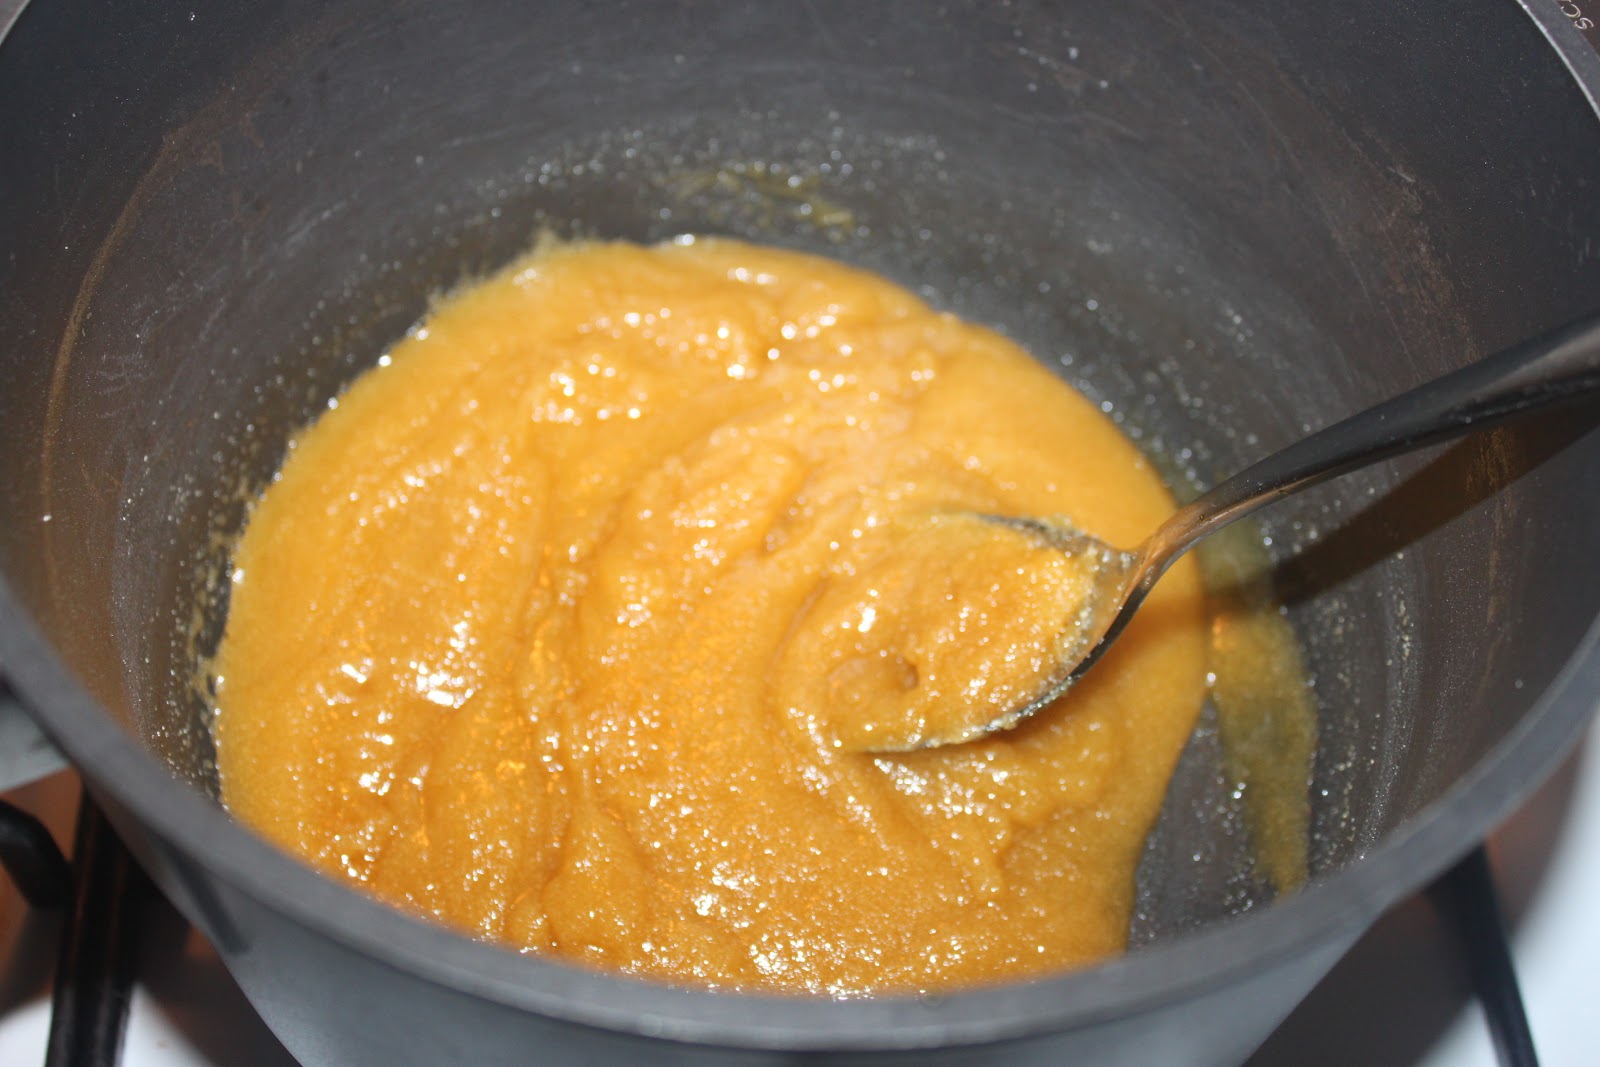

Bring
mixture to the boil, stop stirring and boil for 4-5 minutes until dark and
golden (be careful to not burn it!)

Remove from
the heat and working quickly add the bicarb soda and stir well (mixture will
look like a science experiment that it about to explode!)

QUICKLY pour
honeycomb onto prepared tray and allow to cool at room temperature.

Once cooled,
break into pieces and enjoy!


I haven’t tried
it but next time I am going to try dipping them in chocolate or even drizzling some
over the top....sounds good!
I look forward to hearing from you once you have made them!
Coming soon....what my kids take in their school lunch boxes.....don't forget to submit your details to automatically get my blog updates (top right hand corner if the main blog page).....Wishing you HEALTH and HAPPINESS!!!!!!
Take Care of You,
Collette x

No comments:
Post a Comment